hello world (lab setup)
18-23-August-2025 • setting up
Objective
Create a safe environment for testing and logging!
Steps
Step 1
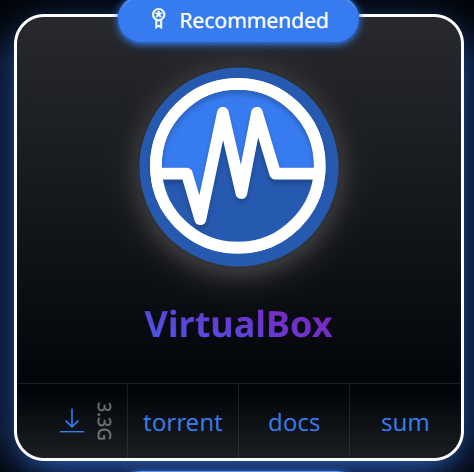
Let's make a destructible OS container. Install Virtual Box.
Step 2
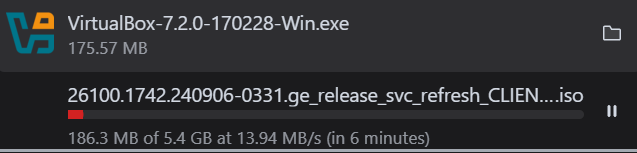
We need an ISO (disk image) to install the OS. Windows needs a license key, so we're going to grab the trial version (of the enterprise edition).

Step 3
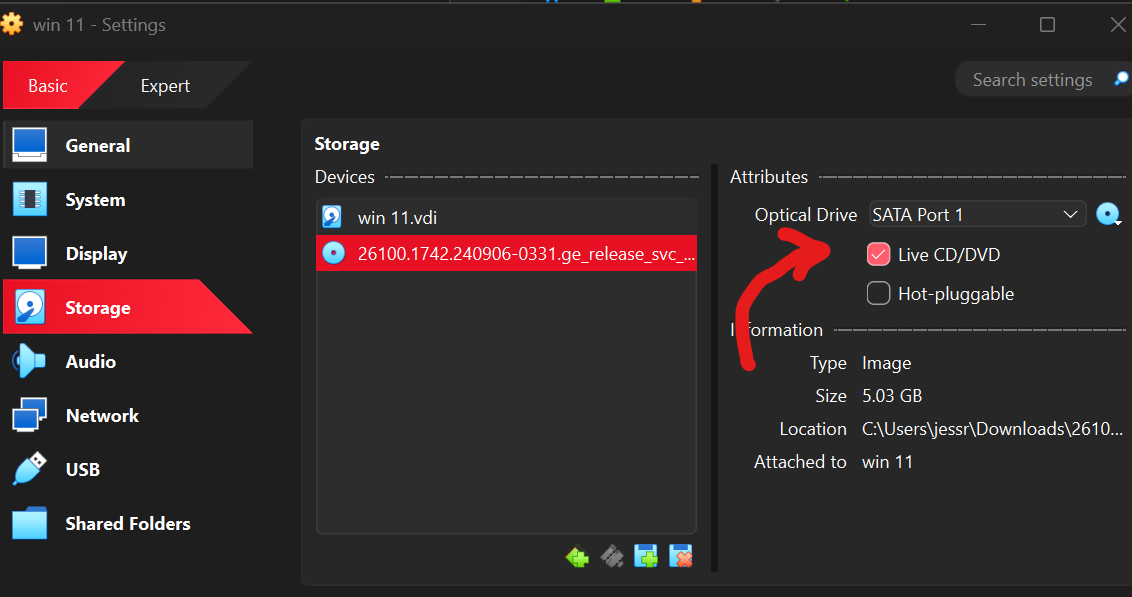
I got a black screen so I had to play with some settings until I checked live CD:
Step 4
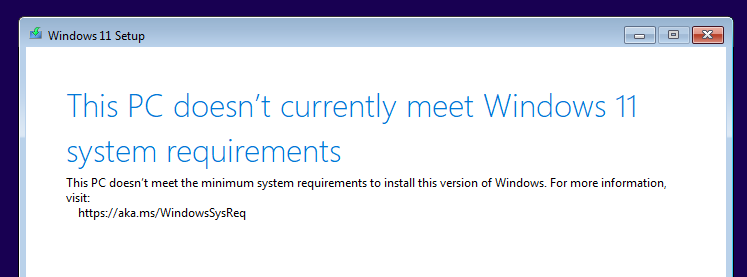
Repeatedly get the same issue.
Step 5
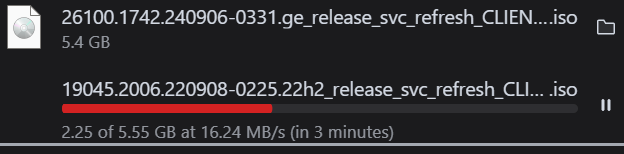
Work out that Windows 11 wants TPM 2.0 which needs to be edited via registry keys and decide to install Windows 10 instead.
Step 6
We're in!
Step 7
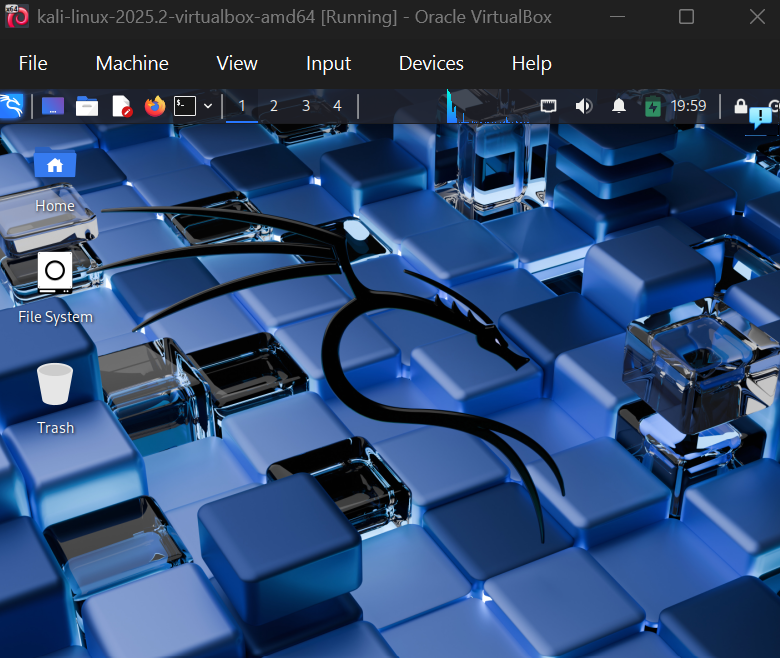
Setup VM #2 (we're going with a pre-made image of Kali Linux)
Step 8
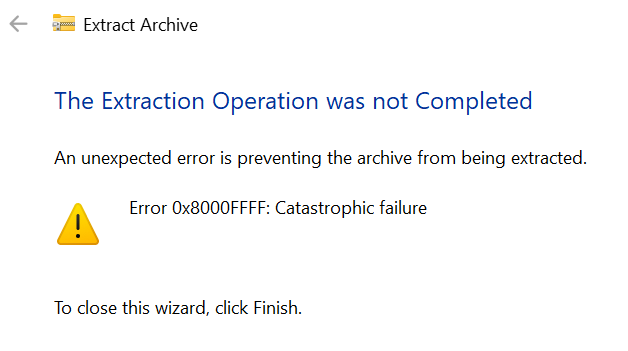
Turn to 7-zip because we encounter a catastrophic failure whilst unzipping with Win11
Step 9
We're in!
Step 10
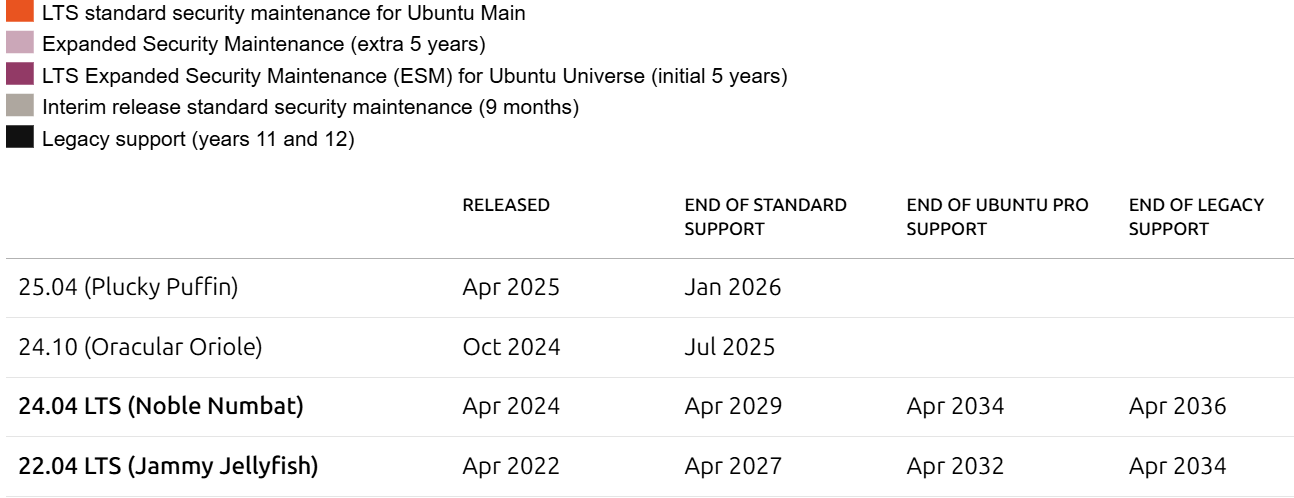
Now we're installing VM #3 (the PC that does the logging) - ubuntu server edition is the lightest, and currently 24.04 LTS (Long Term Service) is the most stable.
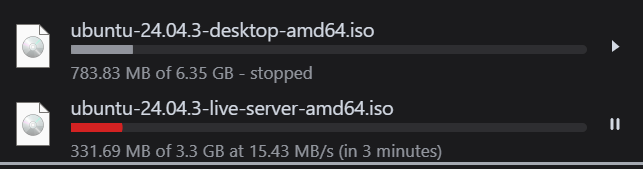
Step 11
Server edition comes without the Graphical User Interface, so is the most lightweight. You can see the disk image is smaller in size, too.
Step 12
We're gonna use Splunk free for logging. Requirements are high (but I'm one person on a laptop- I'm going to give it 6GB RAM / 10GB hard drive and hope for the best).

Step 13
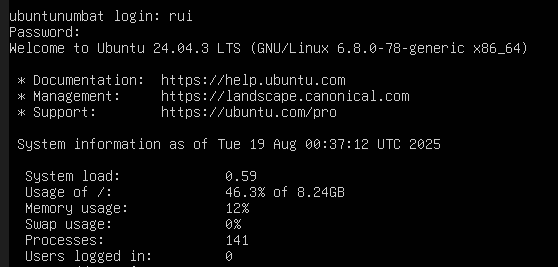
Installed ubuntu!
Step 14
Now we have to download and install spunk:
wget -O splunk-9.4.4-f627d88b766b-linux-amd64.deb 'https://download.splunk.com/products/splunk/releases/9.4.4/linux/splunk-9.4.4-f627d88b766b-linux-amd64.deb'
Step 15
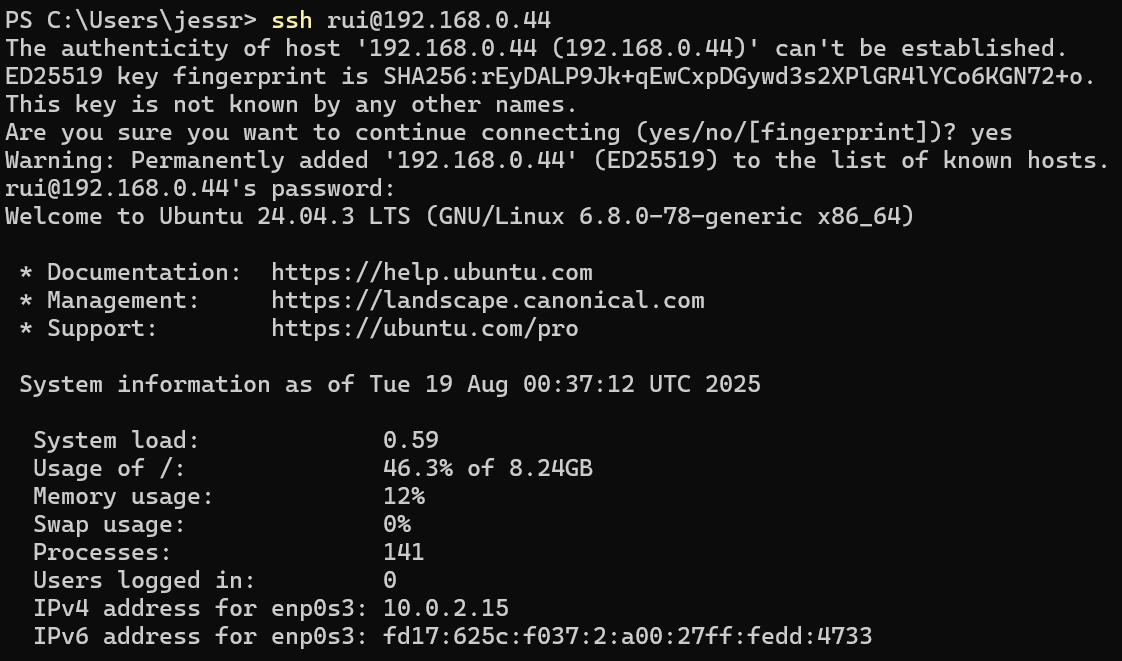
Copy-paste doesn't work inside VirtualBox so we're going to use SSH to access this CLI inside my host's powershell:
sudo apt install openssh-server -y
Step 16
I decided to change some network adapter settings to find the local IP address.

Step 17
Great, I'm now able to copy-paste and run commands from my host system!
Step 18
Running download over the VM's NIC was very slow and ended up failing, so we downloaded locally and now we need a way to transfer it to our VM. After trying a few options (such as setting up shared folders with the VM), I ended up installing PuTTy and running:
pscp "C:\Users\jessr\Downloads\shared\splunk-9.4.4.deb" rui@192.168.0.44:/home/rui/
Step 19
Run Debian's install:
sudo dpkg -i /home/rui/splunk-installer.deb
Step 20
Accept license (and setup user):
sudo /opt/splunk/bin/splunk start --accept-license
Step 21
Boot on start:
sudo /opt/splunk/bin/splunk enable boot-start
Step 22
By using a bridged NIC, all my VMs are assigned an IP address on my LAN, so can communicate with any other device on the LAN as if they're a 'real' machine.
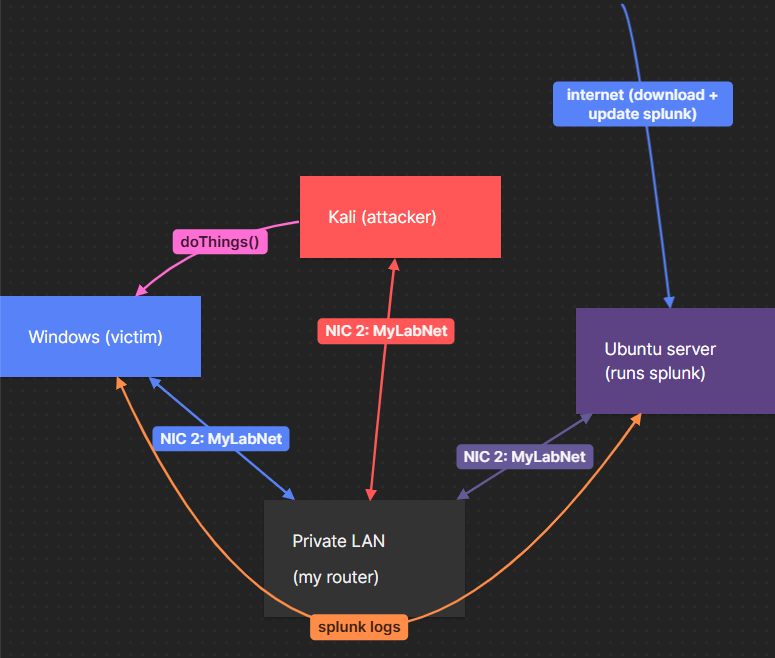
Step 23
It's easiest if every NIC has a static IP address so I don't need to spend time finding the new IP addresses every time I start up the VM. Here's the aim:

Step 24
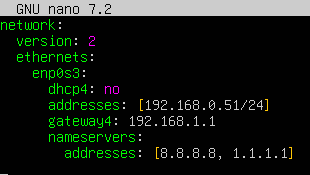
on ubuntu -> sudo nano /etc/netplan/00-installer-config.yaml :
Step 25
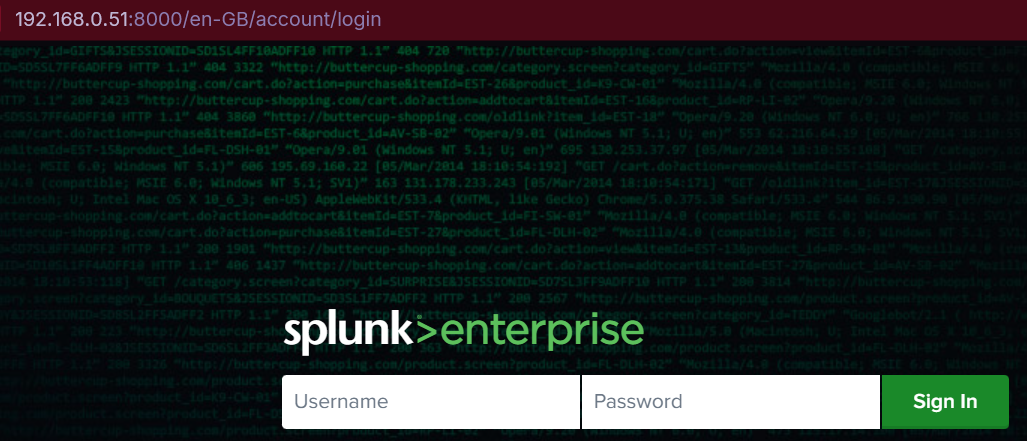
Splunk runs on the VM's IP address on port 8000. Now that we've set a static IP address, we know this must be:
http:192.168.0.51:8000
Step 26
Yay!
Step 27
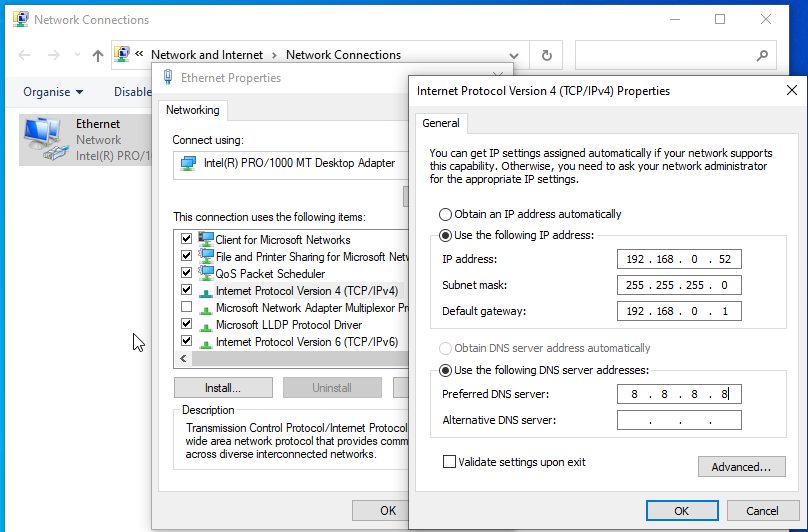
For good measure, let's set a static IP address on the kali VM...

Step 28
And also set our static IP address on the windows VM.
Notes / Lessons Learned
- Windows is very picky.
- But I learnt a lot about the power of secured encryption (and the joys of local networking).